Modern games are huge, and their loading screens have grown with them. But if you are staring at a loading screen for minutes while your friends are already in the match, something is wrong — loading times are one of the most fixable problems on a gaming PC, because they are almost always caused by slow storage or a bottleneck you can identify in ten minutes.

Why games load slowly
When a game loads, it reads gigabytes of data from your drive into memory: textures, models, audio and the map itself. The speed of that process is limited by the slowest part of the chain — usually the drive, but sometimes the CPU, the RAM, or a nearly full disk. A game on an old hard drive can take three to five times longer to load than the same game on an SSD, and no graphics setting will fix that, because the graphics card is waiting idle while the drive catches up.
The other classic symptom is different: the game loads, but textures pop in late, the world stutters when you enter a new area, or the game freezes for a second when you turn around quickly. That is the game streaming data from the drive while you play, and it has the same causes — slow storage, a full drive, or too little free RAM.
Step 1: move your games to an SSD
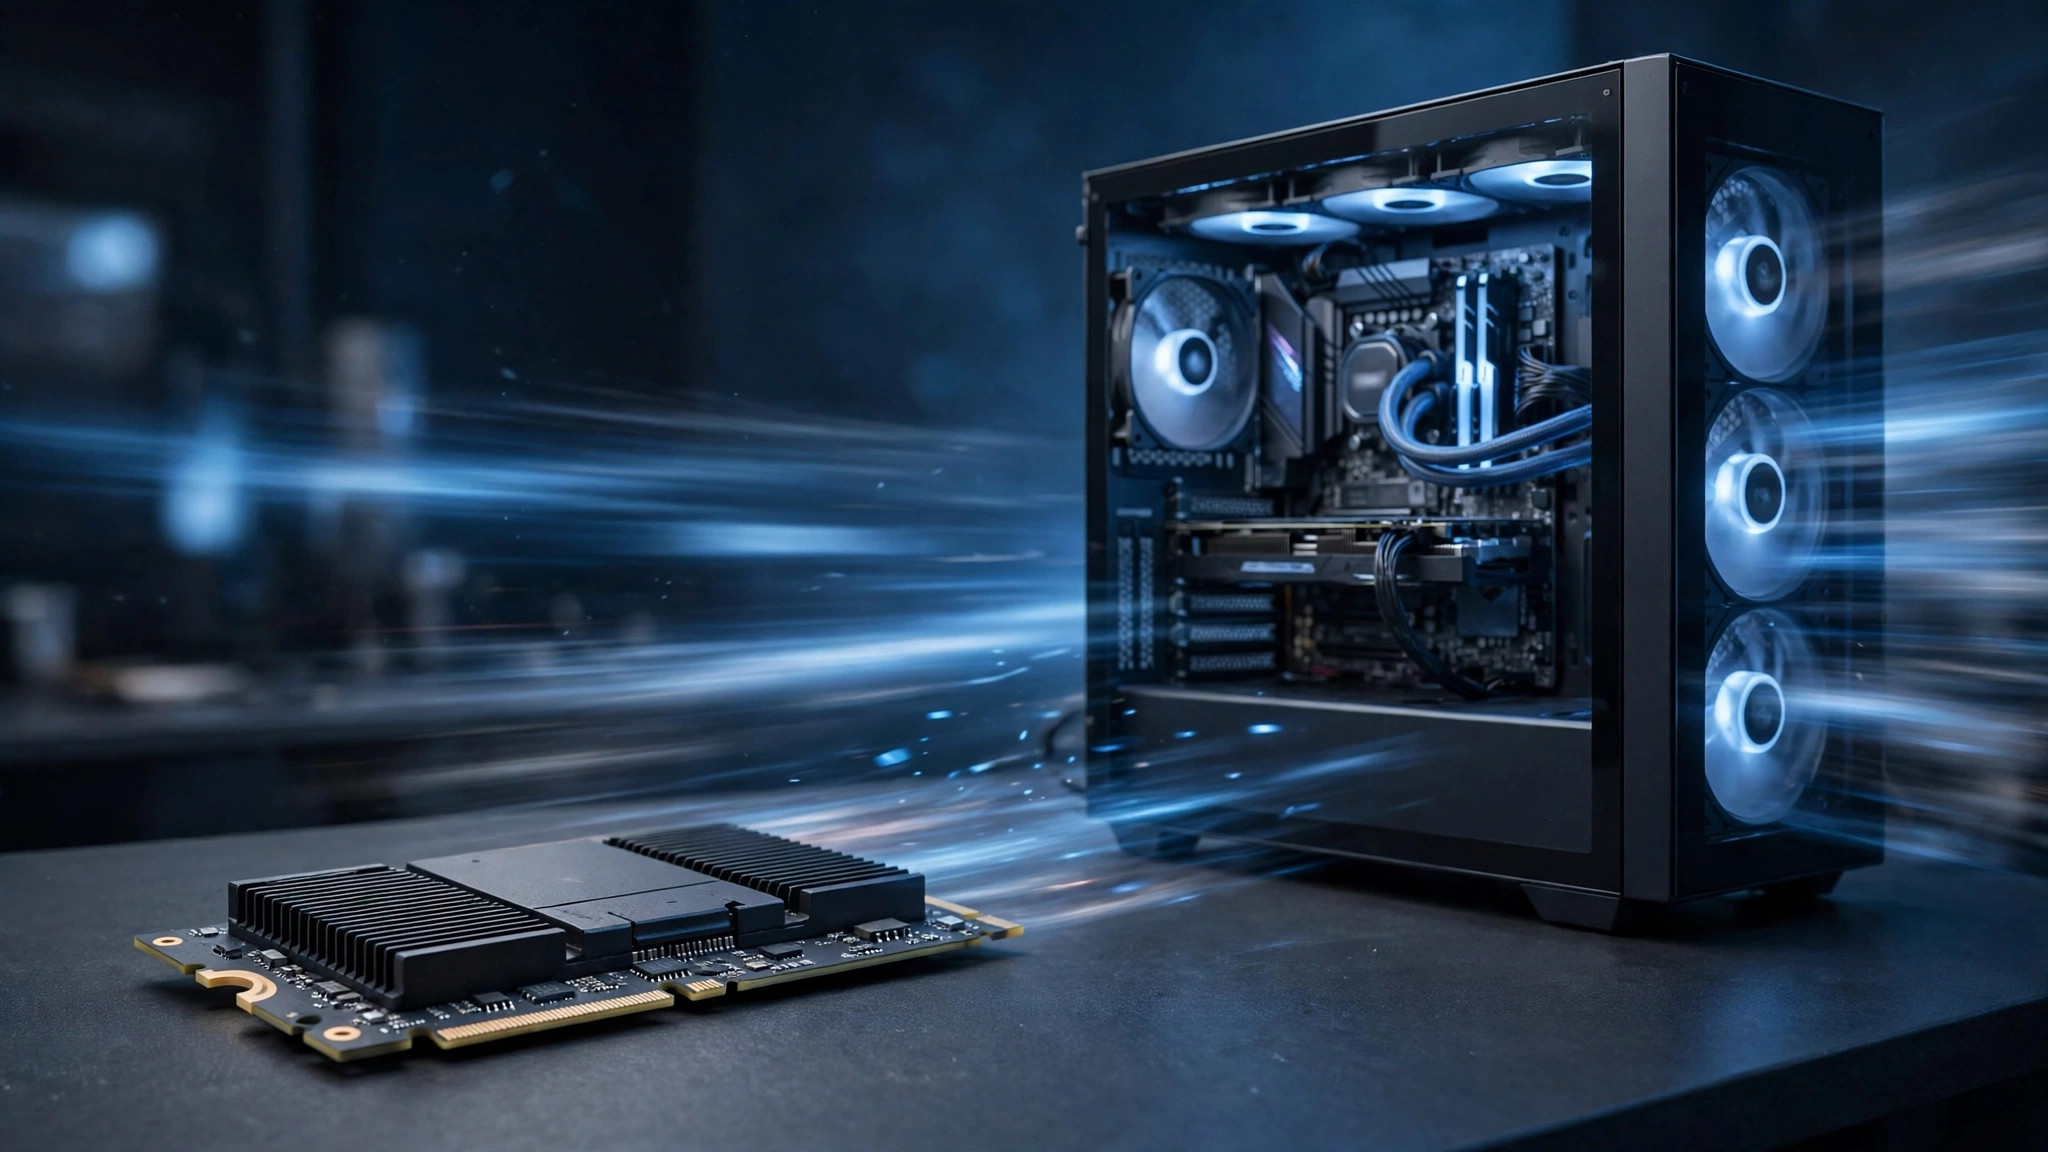
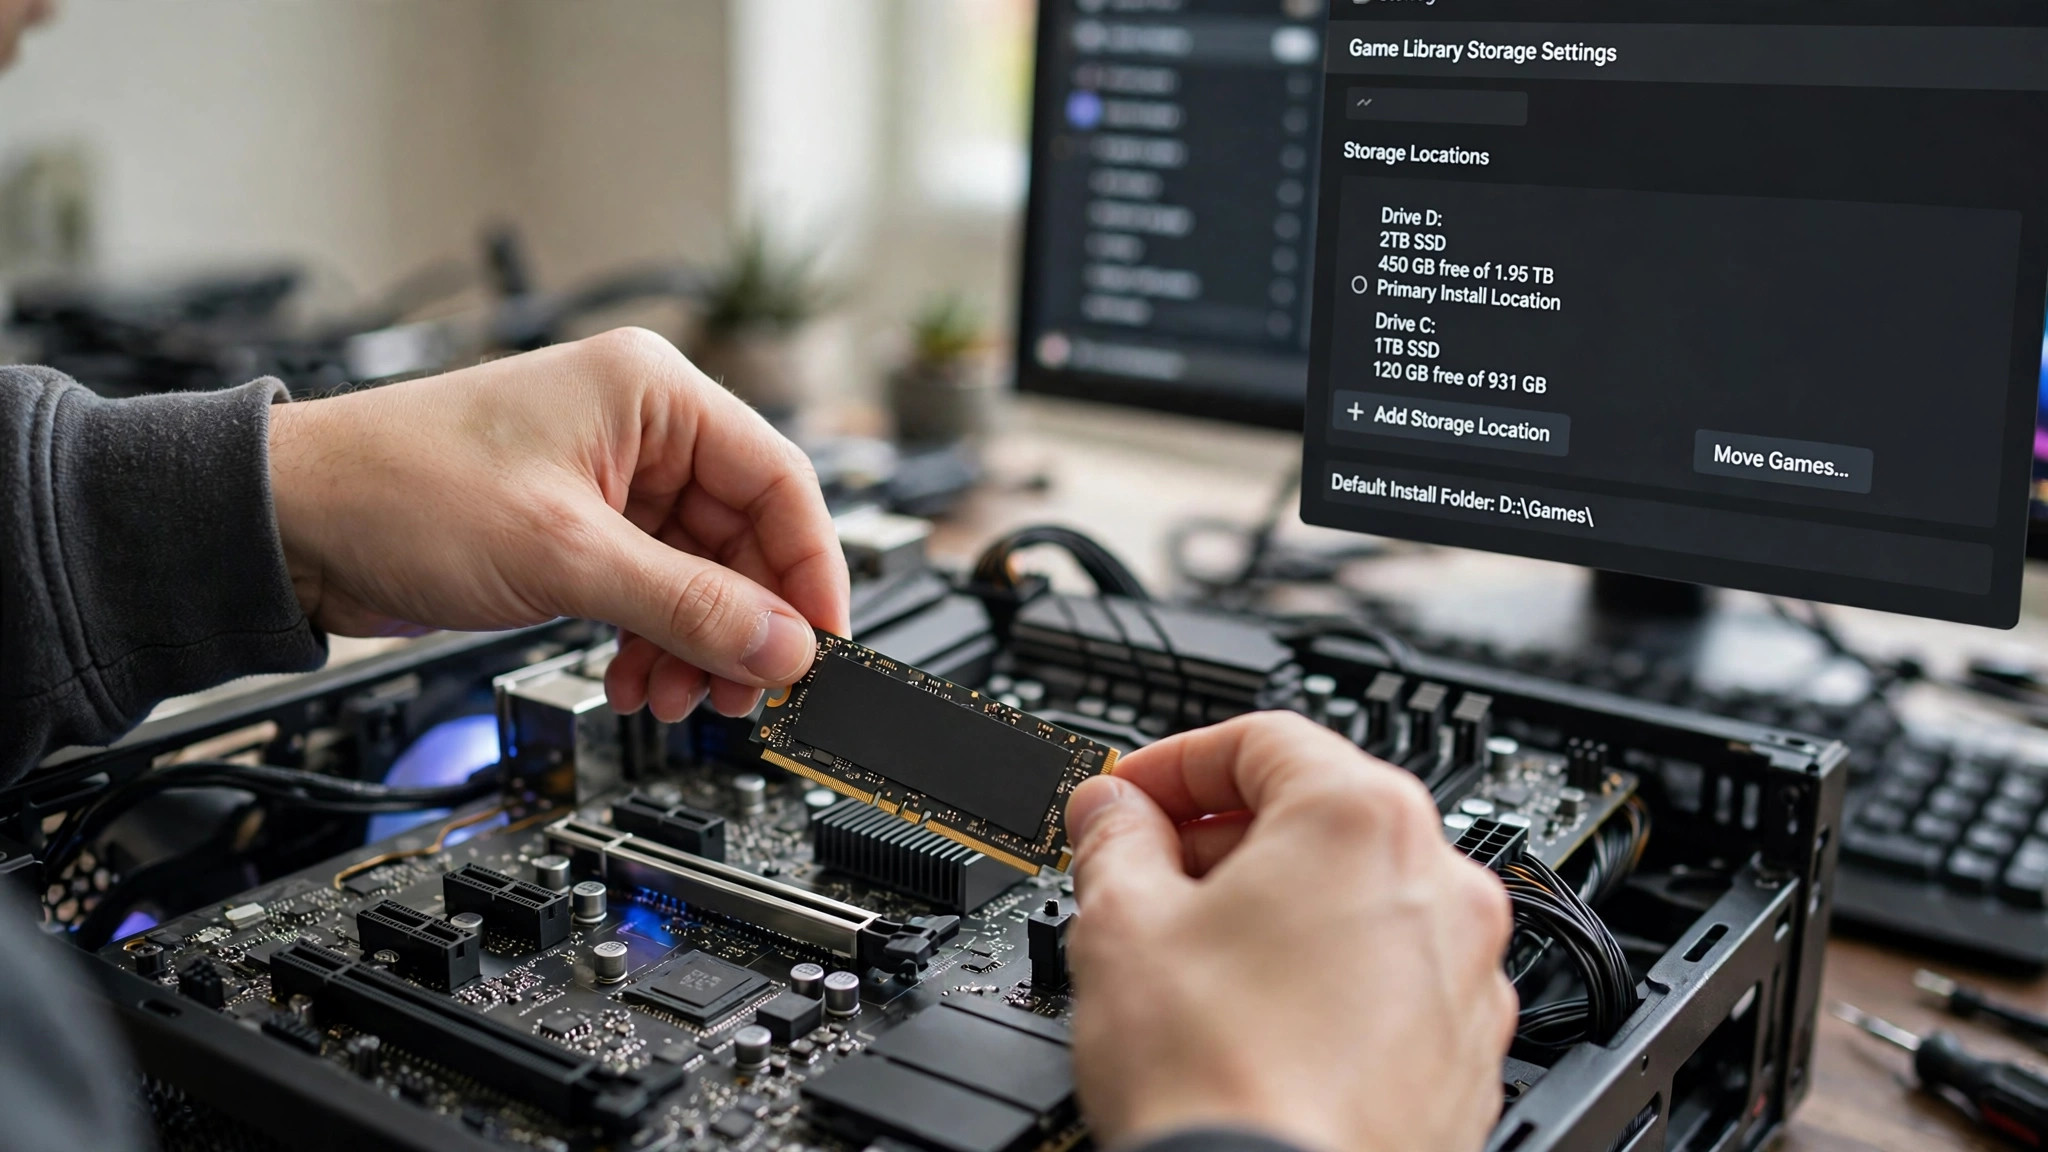
This is the single biggest improvement you can make, and it dwarfs everything else in this guide. A SATA SSD loads games roughly three to five times faster than a mechanical hard drive; an NVMe SSD is faster still, though the jump from SATA SSD to NVMe is smaller than the jump from hard drive to SSD. If your games are still on a hard drive, move them.
In Steam, go to Settings > Storage, click Add Drive and create a library folder on your SSD, then right-click a game, choose Properties > Installed Files > Move install folder and pick the SSD. Epic Games Store and other launchers have similar move options, or you can uninstall and reinstall the game to the new location. Prioritise the games you play most — open-world and multiplayer games benefit the most, because they stream the most data.
If you only have a hard drive, an SSD is the single most noticeable upgrade you can buy for a gaming PC, and even a modest SATA SSD transforms loading times. Until then, defragment the hard drive: search for Defragment and Optimize Drives in Windows, select the drive, and click Optimise. Never defragment an SSD — it does not help and wears the drive out. Windows handles SSDs with the TRIM command automatically, so leave that alone.
Step 2: keep free space on the drive
SSDs slow down sharply when they are nearly full, because they need empty space to manage writes efficiently. As a rule, keep at least 10–15% of your SSD free. A drive with 20 GB free out of 500 GB will load games noticeably slower than the same drive with 100 GB free.
- Uninstall games you have not played in months — you can always reinstall them later, and most launchers keep your saves in the cloud.
- Run Disk Cleanup: search for it in Windows, select your drive, and remove temporary files and old Windows Update files.
- Check your Downloads folder and your recording folder. Gameplay recordings at high bitrate eat tens of gigabytes quickly — move finished clips to another drive.
- Some games keep huge shader caches and temporary files. Verifying the game files (see Step 5) can clear corrupted or bloated caches safely.
Step 3: stop background apps from competing for the drive
Your game is not the only program reading from your drive. Windows Update, cloud sync tools, antivirus scans and other launchers all compete for the same disk, and a game loading while OneDrive syncs a large folder will crawl.
Before a long session, pause cloud syncing in OneDrive, Google Drive or Dropbox, and close other launchers you are not using. Open Task Manager with Ctrl + Shift + Esc, click the Disk column, and look at what is actually using the drive while your game loads. If a backup tool or antivirus scan is sitting at the top of the list, that is your bottleneck — schedule it for a time when you are not gaming. If your whole system feels sluggish rather than just one game, our guide on optimising Windows 11 for gaming covers the background apps worth trimming.
Step 4: tune the in-game settings that affect loading
A few settings directly affect how much data the game has to load and stream:
- Texture quality. Ultra textures are larger files, so they take longer to load and need more video memory. Dropping from Ultra to High often cuts loading time with almost no visible difference at 1080p, and it also reduces texture pop-in on cards with less VRAM.
- Draw distance and level-of-detail settings. Higher values make the game load more of the world at once. If loading screens are long and the game stutters when you enter new areas, try lowering these one step.
- Shader compilation. Many modern games compile shaders on first launch, which can take several minutes and look like a frozen loading screen. Let it finish — interrupting it means it starts again next time. If a game recompiles shaders on every launch, verify its files (Step 5), because a corrupted shader cache is a common cause.
- DirectStorage. On Windows 11, a small number of newer games support DirectStorage, which lets the graphics card load data directly from an NVMe SSD and can cut loading times significantly. It needs a compatible game, an NVMe drive and Windows 11 — if your game supports it, the option usually appears in its settings and should be left on.
Step 5: verify files, update drivers, and check your RAM
Corrupted or missing game files can make a game re-download or re-check data every time it loads, stretching a thirty-second load into several minutes. In Steam, right-click the game, choose Properties > Installed Files > Verify integrity of game files. Other launchers have an equivalent scan-and-repair option. Run it if loading times suddenly got worse after an update or a crash.
Update your graphics drivers too. Driver updates regularly include loading and streaming optimisations for new games, and an old driver can cause exactly the hitching and slow texture loading described above. Get drivers from NVIDIA or AMD directly, not from a third-party updater tool.
Finally, check your RAM. If you have 8 GB, modern games may be paging data to the drive because memory is full — and the page file on any drive is far slower than real RAM. That shows up as long loading times plus stuttering during play. Closing your browser before gaming helps, and if the problem is constant, a RAM upgrade is worth considering. Our guide on fixing high RAM usage in PC games explains how to check whether memory is your bottleneck.
Step 6: when the drive itself is the problem
If loading is slow on every game, on an SSD with plenty of free space, the drive may be failing. Check its health with a free tool such as CrystalDiskInfo, which reads the drive's own health data. A drive reporting warnings or a large number of reallocated sectors should be replaced before it fails completely — and its data backed up first. Also check that the drive is connected properly: an NVMe drive in a slower slot, or a SATA drive on an old cable, runs below its rated speed. If you are unsure, your motherboard manual shows which slots run at full speed.
Quick checklist
| Problem | Most likely cause | Fix |
|---|---|---|
| Every game loads slowly | Games on a hard drive | Move games to an SSD |
| Loading got worse over time | Drive nearly full | Free 10–15% of the drive |
| Textures pop in late | Slow streaming or low VRAM | SSD + lower texture quality one step |
| One game suddenly slow | Corrupted files or shader cache | Verify game files |
| Slow only while syncing or updating | Background disk use | Pause sync, close other launchers |
Loading times are a storage problem far more often than a hardware problem. Move your games to an SSD, keep space free on the drive, and stop background apps from fighting the game for disk access — those three steps alone fix the vast majority of slow loads, and they cost nothing if you already own an SSD.