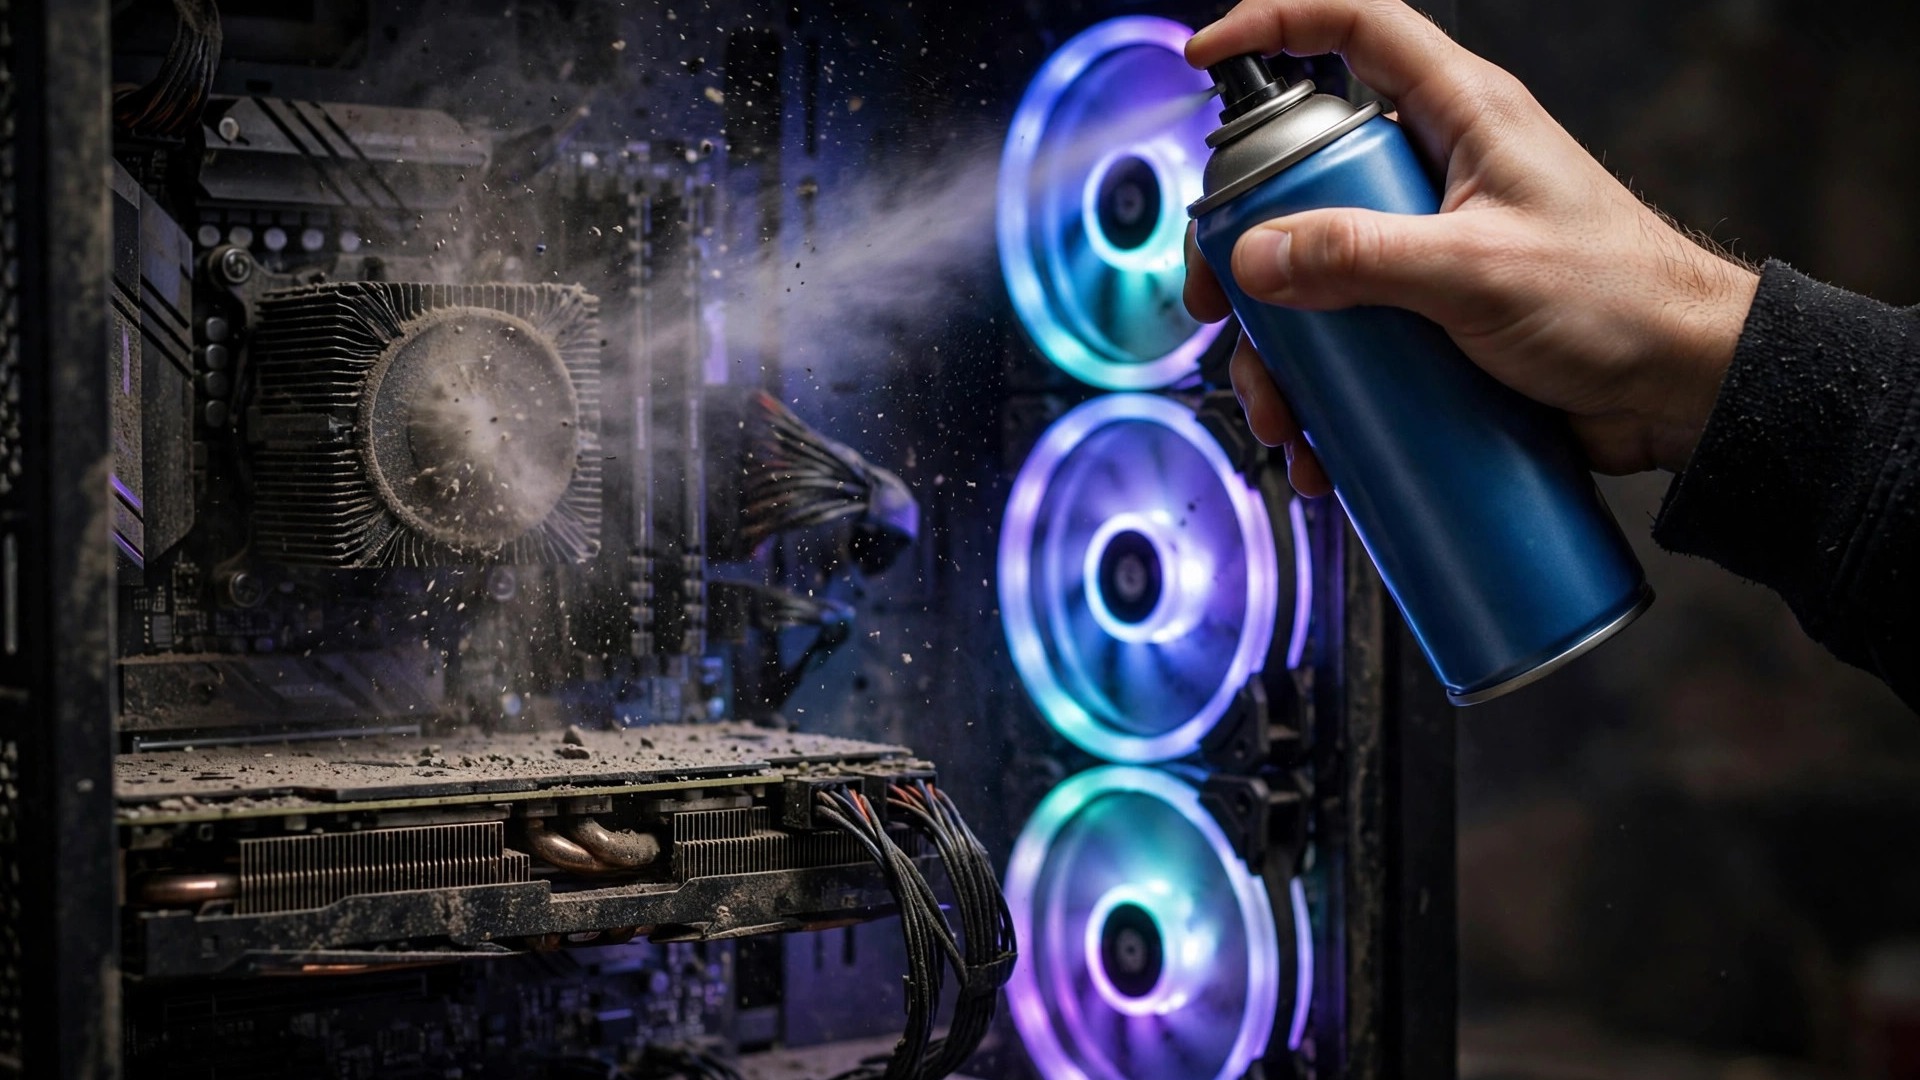
Dust is the most boring performance problem a gaming PC can have, and one of the most common. It builds up on fans, filters and heatsink fins, chokes airflow, and forces cooling to work harder for worse results. The fix takes about 30 minutes, costs almost nothing, and can restore temperatures and frame rates to day-one levels.
The short answer: power the PC off and unplug it, wash the dust filters, blow dust out with short bursts of compressed air while holding each fan blade still, wipe stubborn grime with isopropyl alcohol, and replace the thermal paste every 2–3 years. Never use a household vacuum inside the case, never spin fans with compressed air, and never open the power supply.
Why a dusty PC games worse
Dust on a heatsink acts like a blanket: it insulates the fins that shed heat, so temperatures climb. CPUs and GPUs then slow themselves down to stay safe — thermal throttling — which means lower frame rates, stutter, and fans at full speed. Before you buy a new cooler, clean the PC: if your CPU sits above roughly 85°C during long sessions, dust is a likely cause, as our guide to fixing high CPU usage in PC games explains.
What you need
- Compressed air can or an electric air duster — the main tool.
- Isopropyl alcohol, 90% or higher — for wiping fan blades and removing old thermal paste.
- Microfibre cloth, cotton swabs and a soft brush — lint-free, for blades and heatsink fins.
- A Phillips screwdriver — for the side panel and any fans you remove.
- Thermal paste — only if you plan to re-paste the CPU.
Before you start
Shut the PC down, switch the power supply off at the back, and unplug the power cable. Press the power button once after unplugging to discharge any residual power. Move the PC somewhere well ventilated, ideally outside, and take a quick photo of the inside first, so you can check cable routing and fan direction later. Ground yourself by touching the bare metal of the case before handling components — static is the one real risk here, and it is easy to avoid.
Step 1: Clean the dust filters
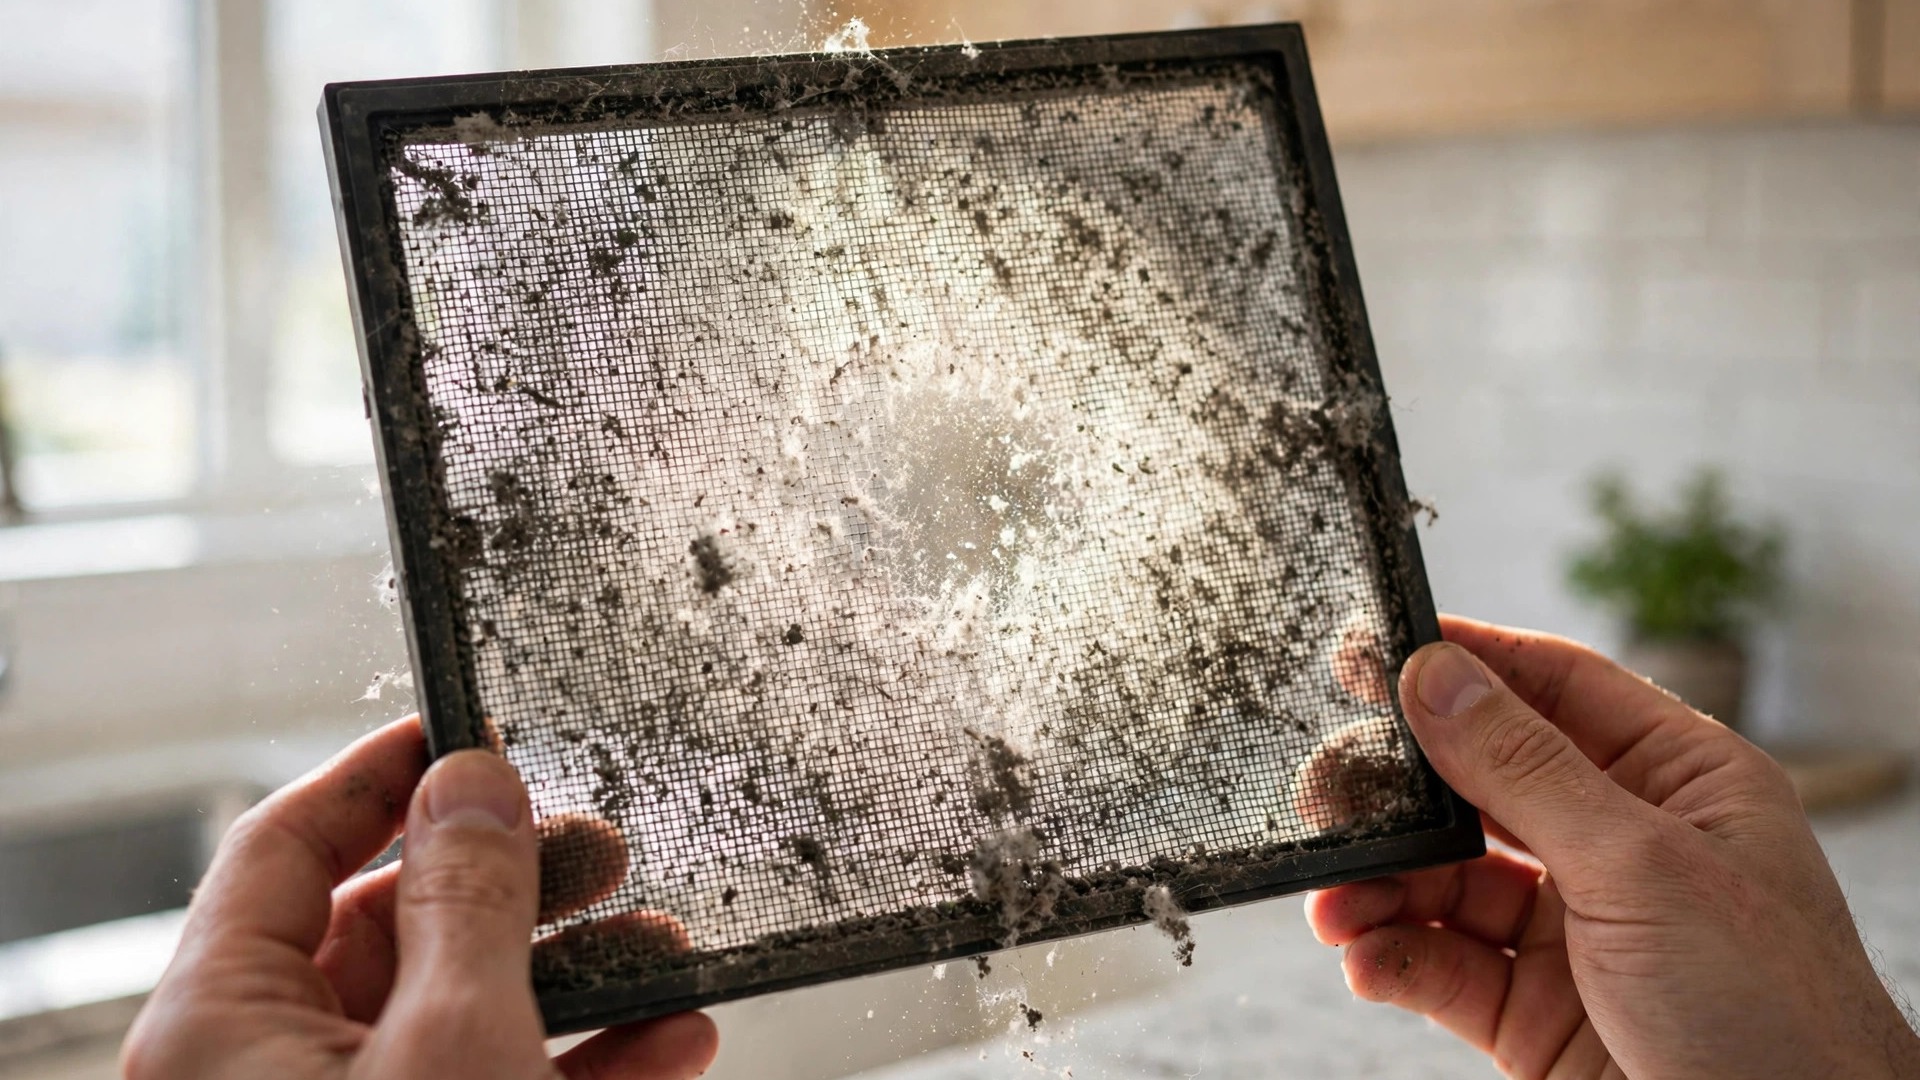
Most cases have removable filters on the front, top and bottom, held by magnets or sliding rails. Pull them out and hold them up to the light — if you cannot see through the mesh, they need cleaning. Rinse them under warm water with a drop of washing-up liquid, then let them dry completely before refitting. Clean filters every 4–6 weeks and the inside of your case stays dramatically cleaner.
Step 2: Clean the fans
Work through the case fans, CPU fan and GPU fans one at a time, holding each blade still with a finger or a pen while you blow air across it. Letting compressed air spin a fan freely can generate voltage back through the fan header and damage the motherboard or the fan bearings. Use short bursts of 1–2 seconds, nozzle 4–6 inches away, and keep a compressed-air can upright — tilting it can spray liquid propellant onto components. For grime that air will not shift, wipe each blade with a cotton swab dampened in isopropyl alcohol. Intake fans sit at the front and bottom; exhaust fans at the rear and top.
Step 3: Blow out the heatsinks and graphics card
This step makes the biggest difference to temperatures. Blow air through the CPU cooler fins from the opposite side to the fan, so dust is pushed out rather than deeper in, and do the same for an all-in-one liquid cooler radiator. For the graphics card, blow air into the fan intakes from the side of the card and across the heatsink underneath. Work from the top downwards, so dislodged dust falls out instead of settling on cleaned parts. Blow dust out of the power supply's vent grille from outside only — never open the power supply, as it can hold a dangerous charge even when unplugged.
Step 4: Wipe down, reassemble and test
Wipe the side panels with a dry microfibre cloth. Check no cables were knocked loose and every fan spins freely by hand. Refit the dry filters, replace the side panel, plug in and switch on. Then test: load a demanding game for 10–15 minutes and compare temperatures and fan noise with before. A good clean typically drops CPU and GPU temperatures by several degrees. If nothing changed, the problem may be dried-out thermal paste rather than dust.
Step 5: Replace the thermal paste (every 2–3 years)
Thermal paste fills the microscopic gaps between your CPU and its cooler so heat transfers efficiently. It dries out over time, and dried paste can add 10–20°C to CPU temperatures. Only re-paste if yours is more than two years old, or if cleaning did not bring temperatures down.
- Remove the CPU cooler by unscrewing its mounts evenly, a little at a time on each corner, then lift it straight off. If it resists, twist gently — never yank it, or you risk pulling the CPU out of its socket.
- Clean the old paste off the CPU and cooler base with a cloth dampened in isopropyl alcohol, until both surfaces are spotless, then let them dry for a minute.
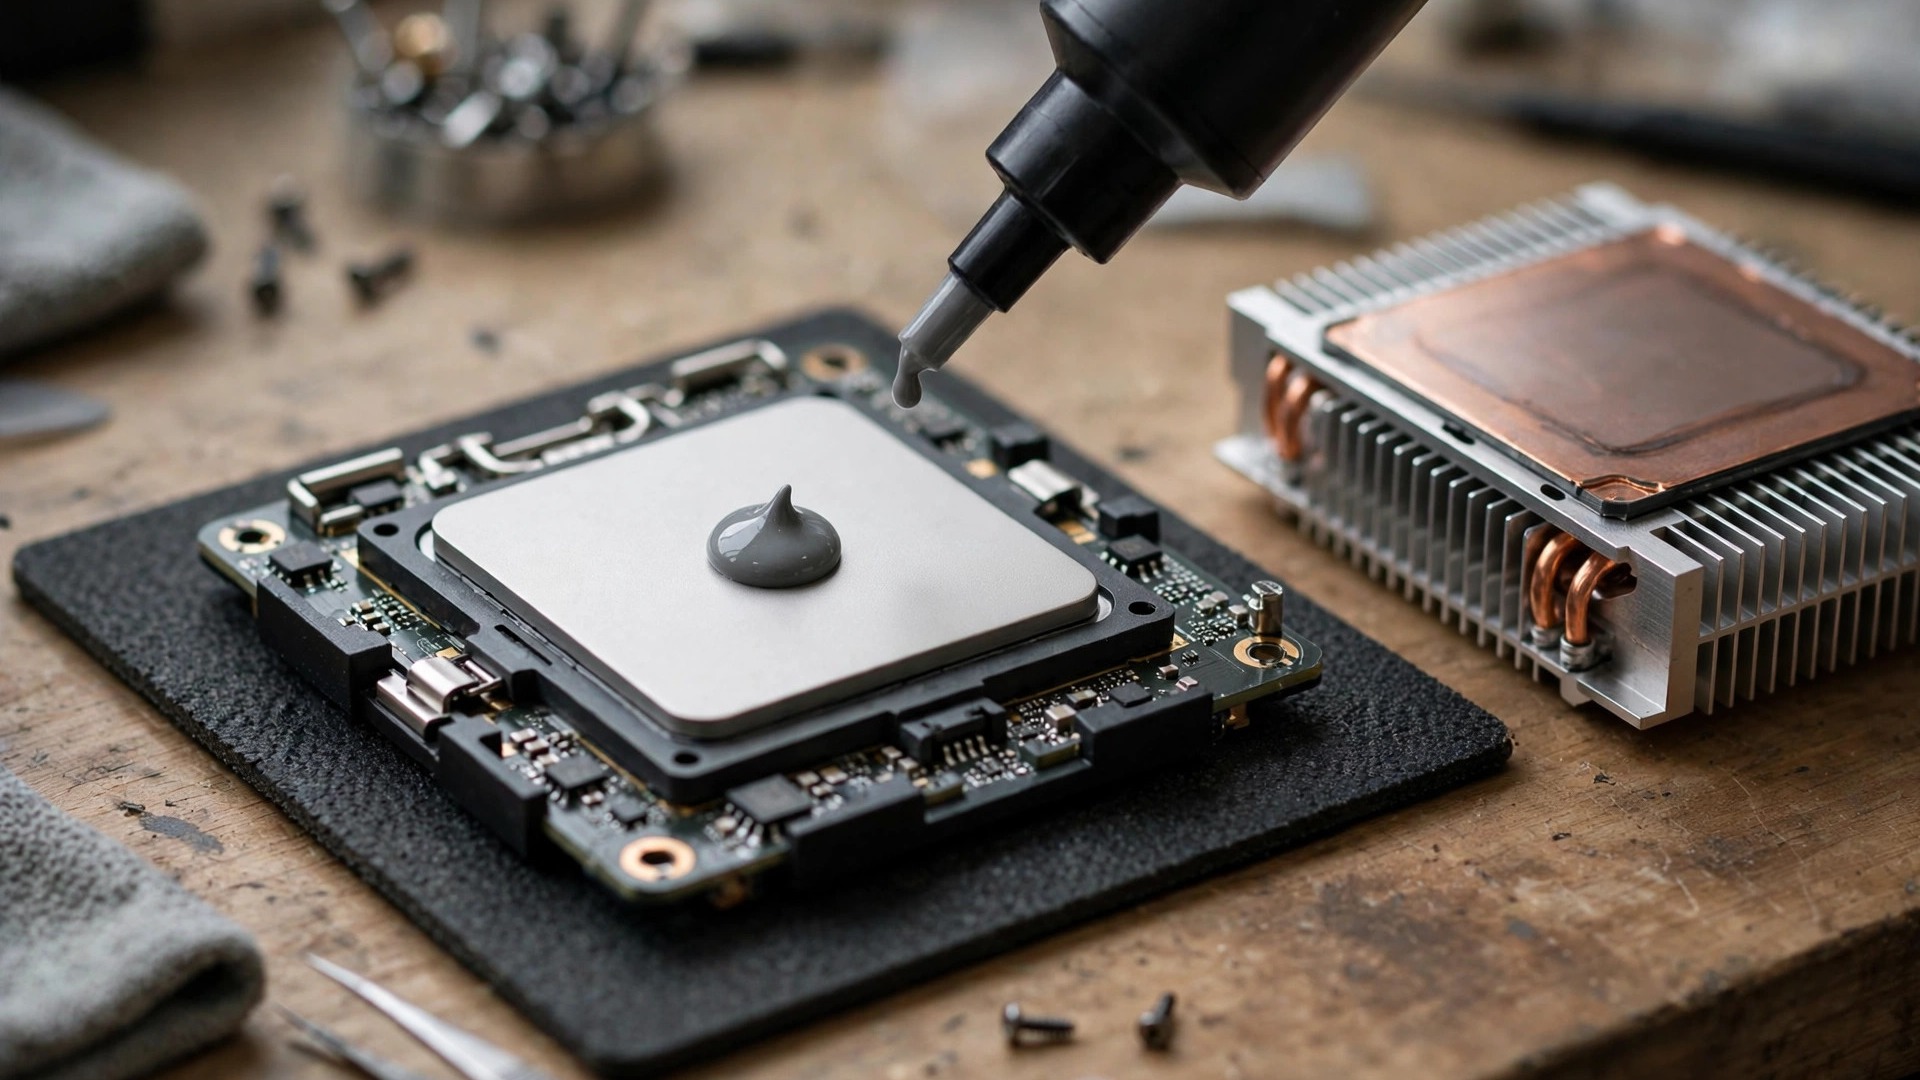
- Apply a fresh drop of paste to the centre of the CPU, about the size of a pea. Do not spread it — the cooler's pressure will spread it evenly.
- Refit the cooler, tightening screws evenly in a diagonal pattern, and reconnect the fan cable.
What never to do
| Mistake | Why it is a problem |
|---|---|
| Using a household vacuum inside the case | Vacuum nozzles build up static, which can kill components. |
| Spinning fans with compressed air | A free-spinning fan generates voltage back into the motherboard. |
| Tilting a compressed-air can | Liquid propellant can spray out and short circuits. |
| Spraying liquid directly on components | Liquid pools in slots and under chips. Dampen the cloth instead. |
| Opening the power supply | It can hold a dangerous charge even unplugged. |
| Cleaning while the PC is plugged in | Live power plus moving air and tools is how parts get damaged. |
How often should you clean your gaming PC?
| Task | How often | Time needed |
|---|---|---|
| Clean dust filters | Every 4–6 weeks | 2 minutes |
| Full interior dust clean | Every 3–6 months (dusty home or pets); every 6–12 months otherwise | About 30 minutes |
| Replace CPU thermal paste | Every 2–3 years, or when cleaning no longer fixes high temperatures | About 20 minutes |
Keep the case off the floor and away from carpet, leave space around the intake vents, and make sure intake fans have filters fitted. Pair the clean with a quick software tidy-up too: close background apps before gaming and keep drivers current, as covered in our guide to optimising Windows 11 for gaming.
Frequently asked questions
How do I know my PC needs cleaning?
Higher temperatures than you used to see, louder fans, frame rates dropping in games that used to run smoothly, and visible dust on the filters.
How much thermal paste should I use?
A pea-sized drop in the centre of the CPU is enough. Too little leaves dry spots; too much squeezes out over the edges.